Photo editing
Plan a segmind face swap with the right images
A face swap starts with two different jobs for two photos: one supplies the face, and the other supplies the scene. This guide helps you prepare a consented edit, choose a suitable starting point, and check the result without treating a convincing image as proof of a real event.
This entry point vs the general one Start with the images, not just a prompt
A task-specific edit begins with a source face and a target scene. General image generation can start from a description alone, so it solves a different problem.
-
1
Choose a source portrait
Use a clear, permitted photo of the person whose face should appear in the result. A front-facing view with visible facial features gives the edit more useful information than a tiny, blurred, or heavily filtered face.
-
2
Choose the target photo
Pick the scene you want to keep. Check that the target face is visible and that its angle, expression, and lighting are reasonably compatible with the source; extreme differences are harder to blend convincingly.
-
3
Review the composite
After the edit, inspect the jawline, hairline, skin tone, shadows, and any objects crossing the face. Keep the original photos so you can compare them and identify changes beyond the intended face replacement.
The three things this task asks you to control
A face-focused edit separates identity, scene, and visual consistency. Other Segmind topics cover different inputs and outputs.
How to start Know what should stay unchanged
Set your goal before editing: the face changes, while the target photo's composition should remain recognizable.
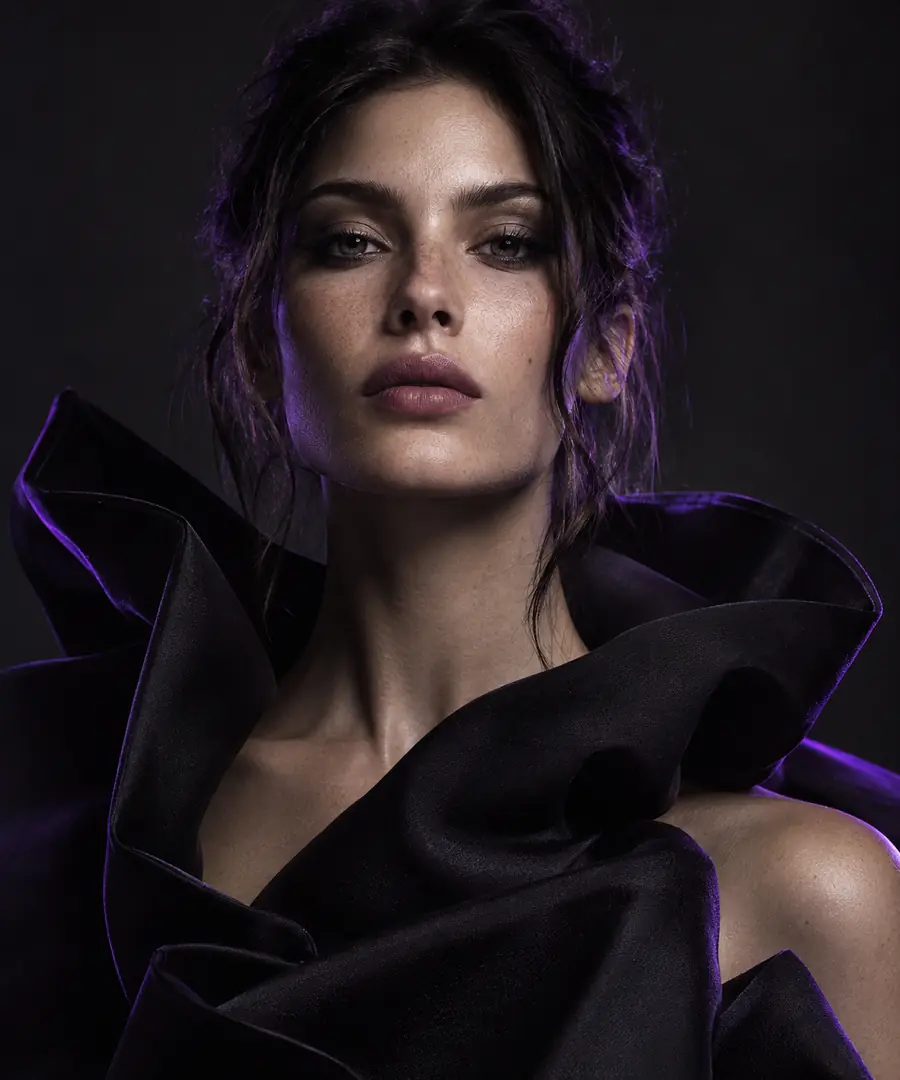
- Reference portrait
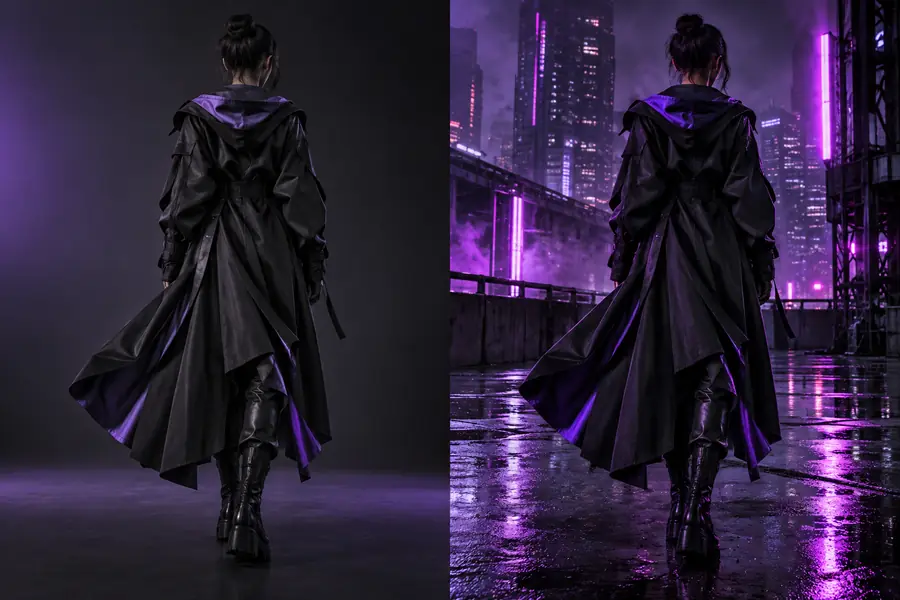
- Illustrative edited view
These images illustrate the roles of a reference and a possible edited view; they are not a verified before-and-after run from the tool. For your own result, compare the output with both originals and look for unintended changes to clothing, background, or expression.
A side-by-side guide to the two starting points
Choose the path by what you already have and what you need to preserve. Available controls can vary by tool or model.
Face-focused edit
General image generation
Primary goal
Face-focused edit
Change who appears in an existing portrait or scene.
General image generation
Create a new image from a description or other available inputs.
Starting material
Face-focused edit
A permitted face reference and a target photo.
General image generation
Usually a written description; image inputs depend on the chosen workflow.
What to preserve
Face-focused edit
The target's pose, framing, clothing, and background where possible.
General image generation
Details specified in the prompt, with less reliance on an existing scene.
Identity reference
Face-focused edit
A clear portrait provides the visual identity to transfer.
General image generation
A text description alone does not reliably reproduce a particular person's face.
Best review method
Face-focused edit
Compare the composite against both input photos.
General image generation
Check whether the generated image matches the intended description.
Common mismatch
Face-focused edit
Face edges or lighting may not fit the target photo.
General image generation
Composition or character details may drift from the prompt.
Limits worth checking before you share
A polished-looking result can still contain errors or create a misleading impression. Review the image and its intended use separately.
-
It cannot establish consent
An editing tool cannot determine whether the people pictured agreed to the source photos, the edit, or its publication. A usable image is not evidence of permission.
WorkaroundGet permission from everyone whose likeness you use, and avoid presenting the result as an unedited photograph.
-
It cannot recover missing facial detail
Small, obscured, or strongly angled faces give the edit less information. The result may invent details or blend the wrong features, even when the overall scene looks plausible.
WorkaroundTry a clearer reference and a target with a compatible angle; inspect the output at full size.
-
It cannot guarantee a seamless blend
Glasses, hair across the face, strong shadows, and unusual expressions can expose edges or change features you meant to keep.
WorkaroundCompare both originals with the result and choose a less obstructed target if artifacts persist.
-
It cannot verify what really happened
A convincing composite depicts an edited scene, not a documented event. Sharing it without context can mislead viewers about a person's actions or whereabouts.
WorkaroundLabel the image as edited whenever its context could be mistaken for a real photograph.
Ready to plan a careful edit?
Start with two permitted photos
Choose a clear face reference, select the scene to retain, and describe what should change. Before using any result, inspect the blend and decide whether the edited image needs an explicit label.
Try a face edit- Use a source portrait with visible facial features
- Keep the target photo for comparison
- Check permission before sharing
Segmind face swap FAQ
Prepare a clear reference portrait for the face you want to use and a target photo containing the scene you want to keep. Choose images you are allowed to edit, and keep both originals for comparison with the result.
Different camera angles, lighting, expressions, or image quality can make the new face difficult to blend into the target. Look closely at the hairline, jaw, shadows, and anything that overlaps the face; a better-matched pair of photos may help.
No. A face swap is an edit to an existing target image, while general image generation aims to create an image from a description or other inputs. If preserving a particular scene matters, start with the target photo rather than relying on a prompt to recreate it.
Only use someone's likeness when you have appropriate permission for the edit and its intended use. If viewers could mistake the composite for a real event or an unedited portrait, clearly identify it as edited.